Top Secret Of Roof installation – Revealed
(Definitive Guide To Install Roof Tiles!)
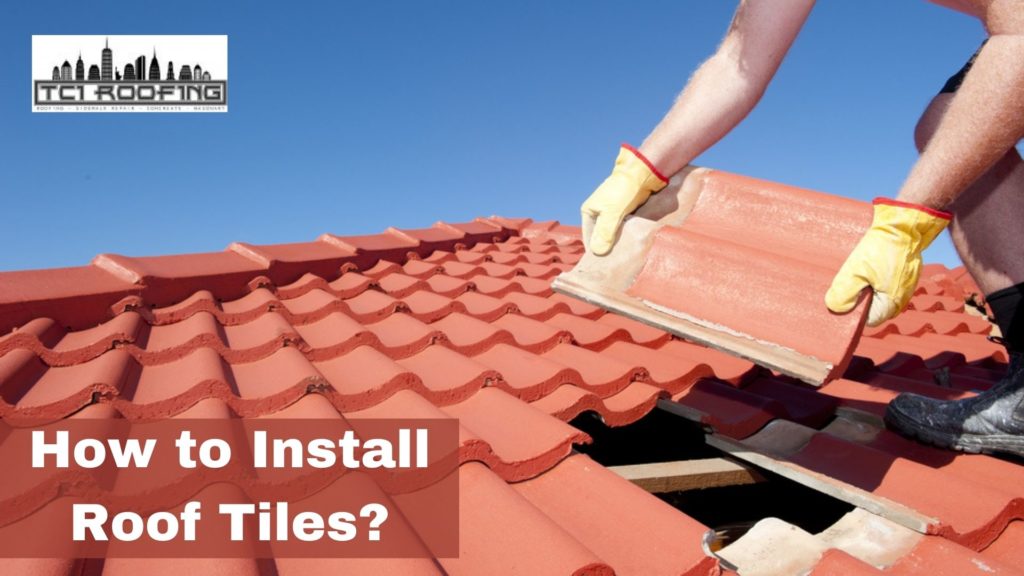
To install roof tiles, you’ll want to start by finding a straight line with a level. Next, draw a line across the roof where you would like the edge of your tile row to be. Then, using a long broom handle, you can use chalk or dump some sand along the edge and then sweep it into an even line.
Next, snap chalk lines down from every section of your sloped roof that is not covered in ridge caps or gutters so that there are at least four vertical guides on either side of your initial chalk line. Snap lines across the entire width of the roof in these “sections” for this part, but remember not to have them run over any ridges or gutter channels.
Roof installation is a procedure that requires some expertise and experience. Therefore, it is best to contact an expert roofing contractor specializing in timber structure roofing to assess your home or property. The following are general guidelines for the installation procedure, but they do not entirely substitute for professional expertise and knowledge specific to your roofing project.
How do you prepare a roof for tile?
There are several ways to prepare your roof for tile. First, you can have your contractor apply the appropriate membrane under the tiles, slopes, and valleys that need to be installed per code requirements; gridlines must also be staked with extreme care. All this must happen before the roof is ready to receive any tiled waterproofing. Using an appropriate sub-roof material to protect against wind speeds greater than 90 mph between sheets is also recommended. This type of roofing materials often consists of felt paper with asphalt glue on one side, high-density fiberboard on the other, or some plywood – depending on what you prefer. We always recommend using felt paper because it provides good insulation.
You can even call us for free quotes and information on roof installation near me! Many tiles are slip-resistant, but many are not–so before installing, you’ll need to provide a good base that’s safe to walk on, even if it’s only short stretches.
Where do you start tiling a roof?
The most likely starting point, however, would be in the middle of the roof. To figure out which side will be on your roof, place the tiles in order from left to right and see which way they tilt off of the ground towards either side of your house. It’s also pretty easy with most roofs– if there are equal numbers of tiles facing one way or another, it means that both sides are equal. There shouldn’t be more than one tile color facing any direction either– so unless there’s some pipework on your house running down the middle (which would stop them), then it’ll probably all come back down. Improper installation will allow water into your house’s interior through leaky windows or window wells, basement walls that are not waterproofed, or just poor drainage away from plumbing fixtures like sinks and toilets outside in an area where there is no permanent drain pipe.
With a new roof installation, it’s recommended to install plywood sheathing or roof deck over any existing sheets in good condition before you install asphalt shingles. This is to help protect against water damage in case of leaks coming up through the walls that may eventually lead into the attic space above an improperly installed floor. Next, a thick coat of primer/sealer is applied before painting non-slip coating onto the underside (with screws) for safety reasons. Black tar paper is then placed atop reflective membrane sheeting for waterproofing; something like Tyvek would also suffice if not desired to give an attractive new look on top with harsh edges.
What do you put under tiles on the roof?
The roof underlayment should provide a watertight barrier and can be either felt paper or nailable metal. The type of material used depends upon the cost-effectiveness for your particular situation (factors like wind resistance, snow load area) and do not play into the tile installation process at all.
After laying out the tile roof, you will lay down tarps or sheets that are then covered by either drywall (painted to match), concrete backer board, cork boards-etc. This is known as roof shingles in colloquial terms. Next, you will nail in roofing nails along each side of the shingle, starting at one corner slowly moving towards the other before finally reaching any center point across from where you started.
How do you secure roof tiles?
Roof tiles are secured using roofing cement or roofing adhesive. The tile needs to be fastened to the roof for it to stay in place.
For new roof installation, heavy-duty metal brackets are set along the top of the rafter boards to be screwed into them at four points on each rafter board. A ridge bar is then fastened across these brackets at least 4 inches from each drip edge of the building, with screws driven through holes drilled through one of its ends and into a metal bracket riveted around either side of the ridge bar. The ridge cap shingles bars should be spaced evenly wherever needed to run across any beams or joists that need support between rafters on which you have installed your tiles.
How long does it take to install a tile roof?
A tile roof installation can take from one to three days, depending on the size of the roof and the contractor’s experience, and the crew is working efficiently.
A tile roof is considered one of the most durable types, making them popular in commercial settings. However, you will need approximately 100 pounds per square foot for this type of roofing installation to work. This would equate to about 3 lb / ft^2 or 900 kg/m^2. Of course, this applies only if round or octagonal tiles are used, which do not include any corners that might cause additional weight needs, which may differ from these numbers.
How much should a roof tile overlap?
The roof tiles typically need to overlap so that rain and snow will not seep through and penetrate the top layer between the tiles. Therefore, the builder should install a thin plastic or metal bar spaced 16 inches from each end of overlapping rows on all four sides of the building for a new roof installation. In some cases, if an existing shingles roof is being replaced, but there isn’t enough space for a support bar at 16-inch intervals, they may only put down one support at 32 inches on either side of any break in tile or divide by 4 feet with two bars at 16-inch intervals.
Can you walk on roof tiles?
YES. You can walk on tile roofs that are only newly installed. However, if the tiles have been allowed to chalk up and build grime after outside exposure, they become quite slippery, and you will find them more difficult to walk on.
Tile roofs should be cleaned regularly with a strong bleach or ammonia solution and then rinsed off before they go too far past the point where they’re good for standing longer than an hour or two, at least year-round in most climates without roof overhangs AND so long as there’s no new damage to the roof during this time of cleaning, such as leaking or someone stepping through it while taking out the garbage for instance.
Can rain get under roof tiles?
In the short term, rain can get under a roof tile or two, depending on how bad the storm is. A new roof installation will eliminate this problem in the long term because any slight gaps between tiles will be sealed due to adhesive ooze and expanding foam insulation between each layer of tiles. The result is that water has no place to go down into gutters by sealing any gaps in between layers of tiles. There are some other good features of installing on new roofs that seal out leaks and help you stay on budget or come within budget during home improvement projects.
How do you calculate roof tile spacing?
You can calculate roof tile spacing by dividing the length of the roof by the width of a tile. It is advisable to round up or down depending on what you prefer. You install roof tiles from one side of the building to another, then around that way about 30 degrees from your first row for a natural-looking finish and prevent future problems with leaks.